How to Season a Blackstone Griddle
Backyard Grilling and Leisure is reader supported. If you use any of the links on this site to buy something we may earn a commission. Thanks!
Seasoning a Blackstone griddle isn’t just a step in the cooking process; it’s an essential ritual for enthusiasts of outdoor griddles and flattop cooking. Proper seasoning protects your griddle, enhances its performance, and adds that distinctive, mouth-watering flavor to your meals. This blog post will guide you step by step on how to season a Blackstone griddle, ensuring you get the most out of your outdoor griddle cooking experience.
What does seasoning a Blackstone Griddle mean?
Seasoning griddles involves applying oils over the cooking surface of a new or older griddle surface in order to protect them from rust and create the non stick surface. Because a griddle surface is naturally porous, adding a thin layer of griddle oil creates a natural protective film which is designed to help protect food and allows for easy cleaning. When you buy a Blackstone griddle it will be your absolute best first step.
What is the Best Oil to Season a Blackstone Griddle?
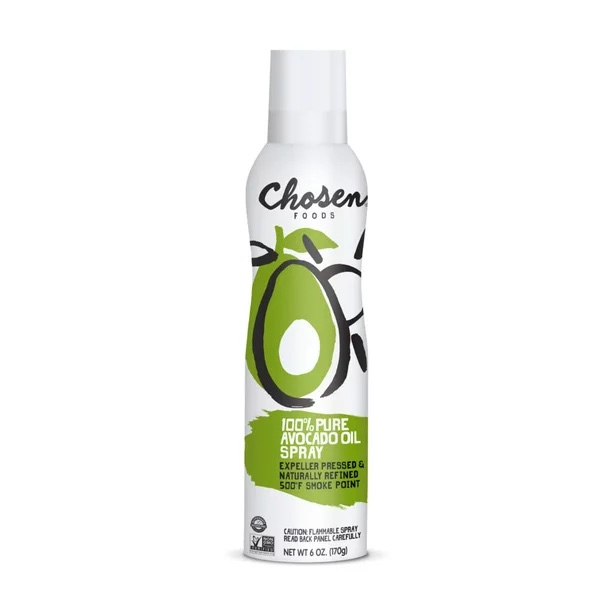
Before starting the Blackstone griddle seasoning process, use the appropriate seasoning oil. Similar as to seasoning cast iron, a oil with a high smoke point is good because it won’t burn as easy as the oil heats up and creates a strong seasoning on the cooking surface. A good vegetable oil is a good low cost choice. Besides that the smoke levels are much higher too. Some cast iron fans swear by using shortening to season their griddles. My preferred oil for seasoning is avocado oil as it has a high smoke point, mild in flavor and versatile in many cuisines. I like to cook the same oil to avoid storing all kinds of bottles in my kitchen.
Why Should I Learn How to Season a Blackstone Griddle?
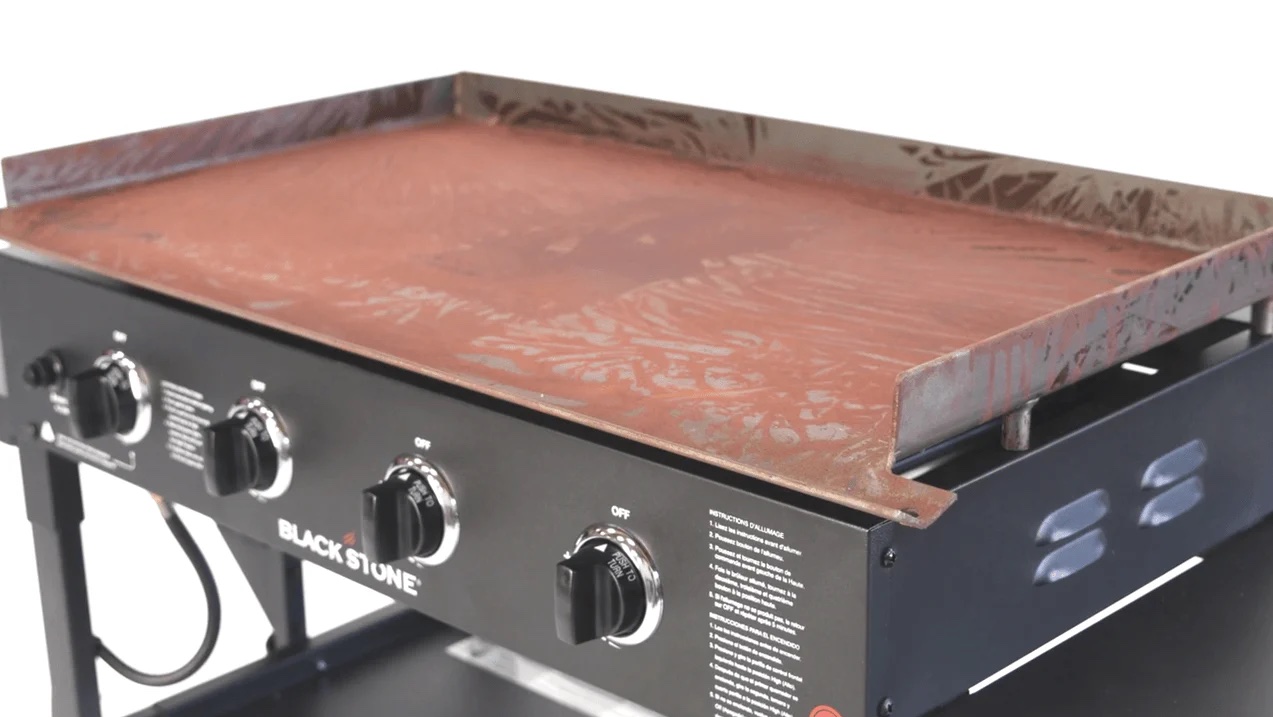
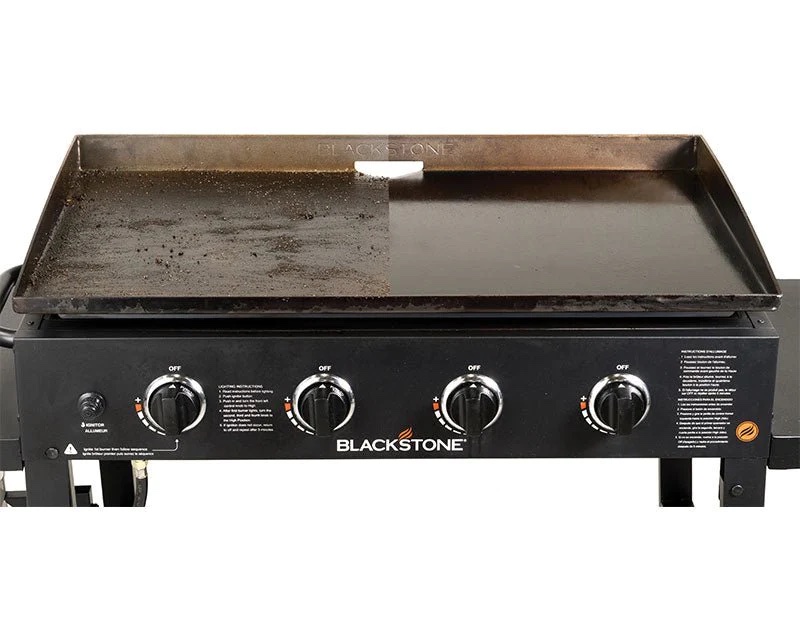
After some cooking the Blackstone griddle surface will start appearing discolored and there will be areas darker or brown instead of black. Over time it breaks down the thin layer of your griddle seasoning, so no worries here…. But it is best to start putting on griddle seasoning layers again.
By learning how to season a Blackstone griddle you are ensuring that you get the most out of your Blackstone Griddle. The seasoning process entails creating a protective layer of oil that helps protect the griddle surface from rust and other forms of corrosion. It also creates a smooth cooking surface which prevents food from sticking to it. Re-seasoning your Blackstone griddle is important as the oils will decompose over time, so repeating the seasoning process over time is key in order to maintain a non stick cooking surface and protect your griddle from rust.
Can I Use Soap and Water to Clean My Blackstone Griddle?
While it is possible to use water and soap to clean your Blackstone griddle, it can cause damage over time. The constant use of soap and water will strip away the seasoning layer from the griddle surface, leaving it vulnerable to rusting. It is also not necessary as a hot rinse with some paper towels should do the trick in removing any leftover food or grease from the griddle surface.
What type of Tools Do You Need for Seasoning a Blackstone Griddle?
Before we delve into the steps of how to season a Blackstone griddle, let’s prepare everything we need for the seasoning process:
- High-heat cooking oil (such as flaxseed oil, avocado oil, canola oil, or vegetable shortening) Stay away from oils that don’t have a high smoke point such as extra virgin olive oil
- A pair of heat-resistant gloves
- Metal spatula or griddle scraper
- Clean, lint-free cloth or paper towels
- A well-ventilated area or open outdoor space
- Some patience and time (yes, this is part of the process too!)
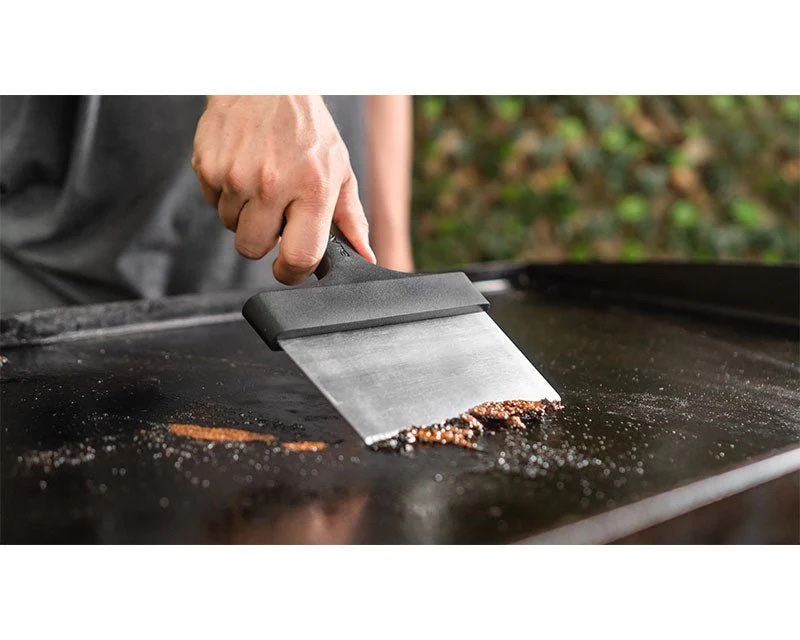
Step 1: Cleaning the Griddle
Before we start to season a Blackstone griddle, it needs to be cleaned. First, using a plastic scraper, remove any food that may still be stuck on the surface of the griddle. Then, use a nylon scrub brush and hot water mixed with dish soap to clean the entire griddle. Once all of this is finished, make sure to wipe the griddle dry with a paper towel.
Step 2: Applying Oil
Once your Blackstone griddle has been cleaned and dried, it’s time to begin seasoning the griddle. Start by taking a high-quality cooking oil such as vegetable oil or canola oil and applying it to the surface of the griddle. Make sure to spread the oil evenly across the entire surface using a rag or paper towel.
Step 3: Burn-In
Now that your Blackstone griddle has been oiled, it’s time to begin burning in the thin layer of oil which will help season and protect it from rusting. Preheat the griddle to a high temperature and allow it to cook for 30 minutes. This will help the oil reach into the metal pores and create a strong seasoning layer. This will contribute to getting a non stick surface
Step 4: Final Wipe
After the burn-in process is complete, turn off the griddle and allow it to cool down before wiping off any excess oil that may have accumulated on the surface. This can be done by using a paper towel and wiping in a circular motion until all of the oil is gone.
Step 5: Maintenance
Now that your Blackstone griddle has been seasoned, make sure to follow some basic maintenance steps in order to keep it in tip-top condition. After each use, clean and dry the griddle and then reapply a thin layer of oil. This will help protect the griddle from rusting and ensure that it lasts for years to come.
How Often Should You Season a Blackstone Griddle?
The frequency of seasoning your Blackstone griddle can depend on a number of factors, including how often you use it and the conditions you keep it in. As a rule of thumb, you should season your griddle before the first time you use it and after every cleaning. The more you use your griddle, the better the seasoning will get. However, if you notice food starting to stick to the surface, or if the griddle’s color starts to fade, it’s a good indicator that your griddle could use a fresh seasoning. Remember, regular maintenance and proper storage are key to extending the lifespan and performance of your outdoor griddle.
Do not do this on your new Blackstone
Never use warm water over a hot griddle because the surface could warp. Use soap only on cooked griddles because it will damage griddle seasonings.
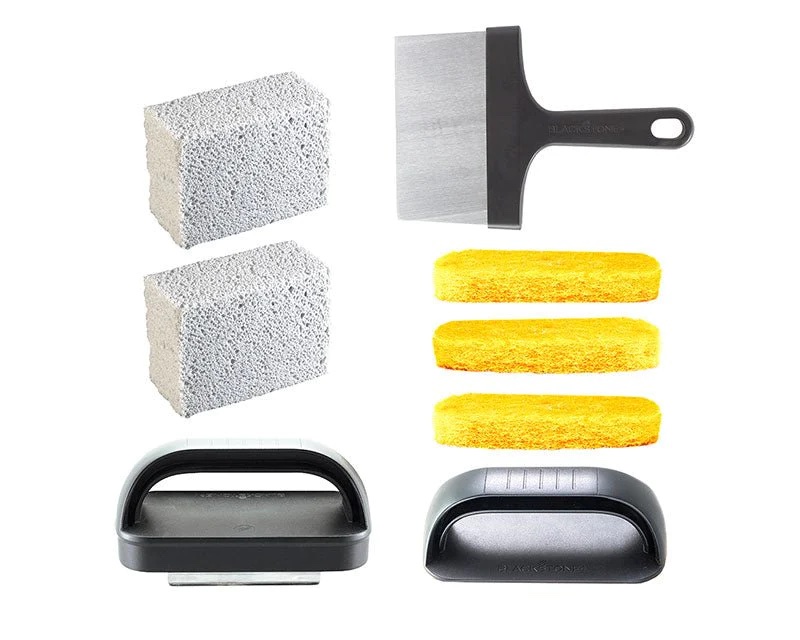
What Should I Do If My Blackstone Griddle Starts to Rust?
To remove rust, you can use a mixture of salt, soap powder, and water, or you may consider purchasing a Blackstone Griddle cleaning kit for additional assistance. Afterward, apply a thin layer of oil to the griddle as previously described. It is important to avoid leaving the griddle exposed to moisture. Instead, store the griddle in a dry location and cover it when not in use. By following these steps, you can effectively maintain the griddle’s condition over time.
Caring for a Seasoned Blackstone Griddle
A properly seasoned Blackstone griddle will last you many years with proper care. To keep the seasoning on your griddle, it’s important to never use any harsh abrasive cleaners or steel wool, as this can strip away the seasoning. Instead, you should clean the griddle with a damp cloth and mild detergent after each use. If you notice that the surface has become dry from extended use, simply season it again with a light layer of oil.
It’s also important to remember that heat is your griddle’s best friend! After each use, preheat the griddle to help keep the seasoning intact. This will also help to prevent rusting and condensation build up on the surface.
Following these steps will ensure that your Blackstone Griddle is always in top condition and ready for any cooking adventure you can think of! So grab your spatula and get griddling. The possibilities are endless!
Conclusion
When you Season a Blackstone Griddle you are taking an essential step in the cooking process that will ensure you make the most of your outdoor griddle cooking experience. Following these steps will help to protect your griddle, enhance its performance, and add that distinctive flavor to all of your meals.